How to Colorize Images for Free Without Complex Photo Editing Software
Colorization images has never been easier thanks to the advent of online tools and AI-powered solutions. In this post, we will explore how you can colorize your images for free without needing any photo editing software.
We will use a popular online tool, which you can access for free. You can also follow this guide to colorize your own images effortlessly.
To colorize your images, we will:
- Upload Your Image to the Selected Tool
- Configure Colorization Settings
- Colorize and Save the Image
Upload Your Image to the Selected Tool
For this tutorial, we are going to use https://pictureeditorai.com, an AI-based automatic photo editing software that requires minimal configuration.
Step 1: Create an account on https://pictureeditorai.com. After you have navigated to the tool, you should see a sign up button on the top right corner. Press that button and login with Google to create an account.

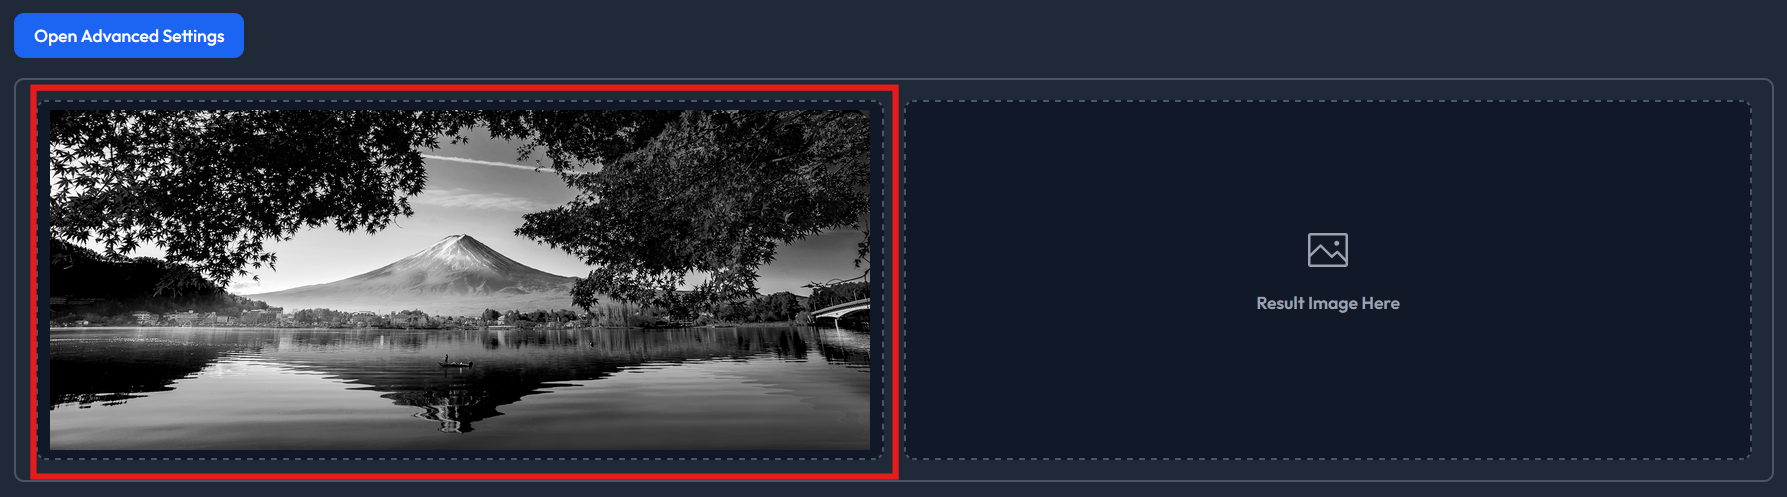
Step 2: Find an image you want to colorize in your file system. Either drag and drop this into the image dropzone or click on the dropzone and find it in your file system. For this example we are going to use an image of a black and white landscape .
Configure Colorization Settings
Step 3: This tools provides a couple of different settings when it comes to colorizing images. To view the settings you can configure, click the "Open Advanced Settings" button:

Step 4: Now it's time to configure the advanced settings. Before we do this, make sure you have colorization selected as the edit mode. With the colorization feature, we first need to choose which model we want to use. Currently we support the following models: ddcolor. The properties for each model and their description are listed below
Step 5: Its now time for us to choose our values. For this demo, we are going to choose the ddcolor model and the following parameters:
Our settings should look something like as follows:

Colorize and Save the Image
Step 6: To colorize the image, we can now just press the "Edit Image" button. This process may take a few minutes.

Step 7: To save the image, you can simply right click the image and press "Save Image As...". The result of the colorization is shown below:

Colorization has become significantly easier to do with tools like this one. If you have any questions about any of the steps, feel free to send an email at contact@pictureeditorai.com